bikeNOW - 02 / Mar / 2022
Basic Bike Maintenance How-To
Maintaining Your Bike at Home: How-To Guide For Beginners
Maintaining Your Bike at Home: How-To Guide For Beginners
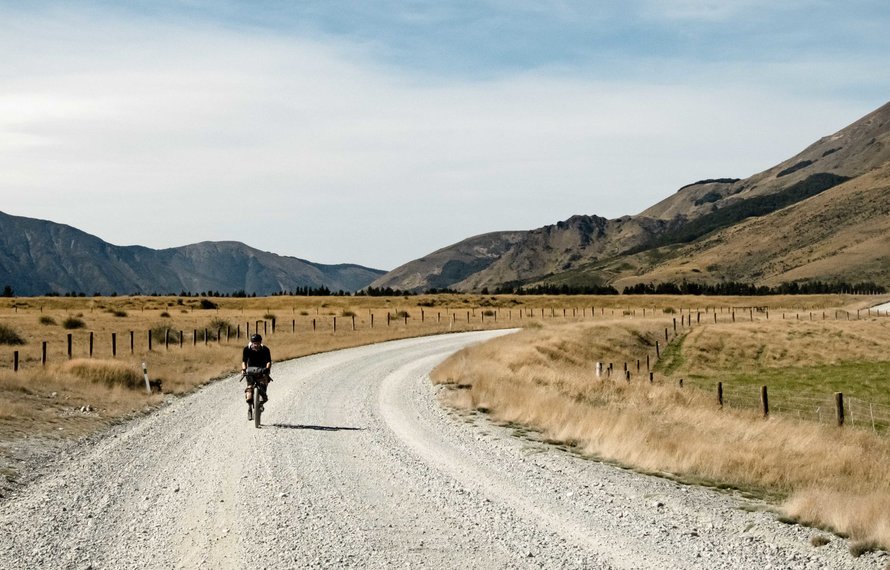
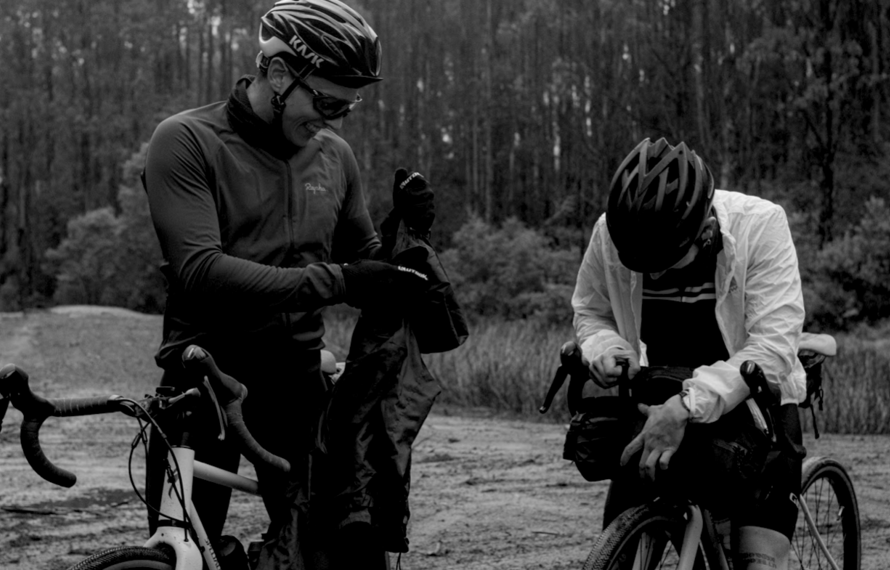
Maintaining your own bike is a handy skill to learn – not just because a safe bike is a good bike, but also because you can save yourself time and money by learning a few simple skills. We’ve put together a step-by-step guide on how to look after your bike from the comfort of your own home.
Helpful Tools For Bike Maintenance
A good set of tools can go a long way, so you should always start by taking inventory of your toolkit and ensuring you have the proper items at your disposal. Here’s what we recommend:
- Torque Wrench
- Grease and Carbon Gripper Paste (If you have carbon fibre parts)
- Bike Wash
- Chain Degreaser
- Chain Lubricant
- Brushes (Both firm and soft)
- Allen Keys (Most common sizes: 3mm, 4mm, 5mm, 6mm and 8mm)
- Bike Pump with Pressure Gauge
- Clean White Cloths and Sponges
- 180-Grit Sandpaper
- Isopropyl Alcohol or High-Quality Brake Cleaner
Key Things To Look Out For
Often, you can tell whether your bike requires maintenance by looking out for the following warning signs and checking these common problem areas:
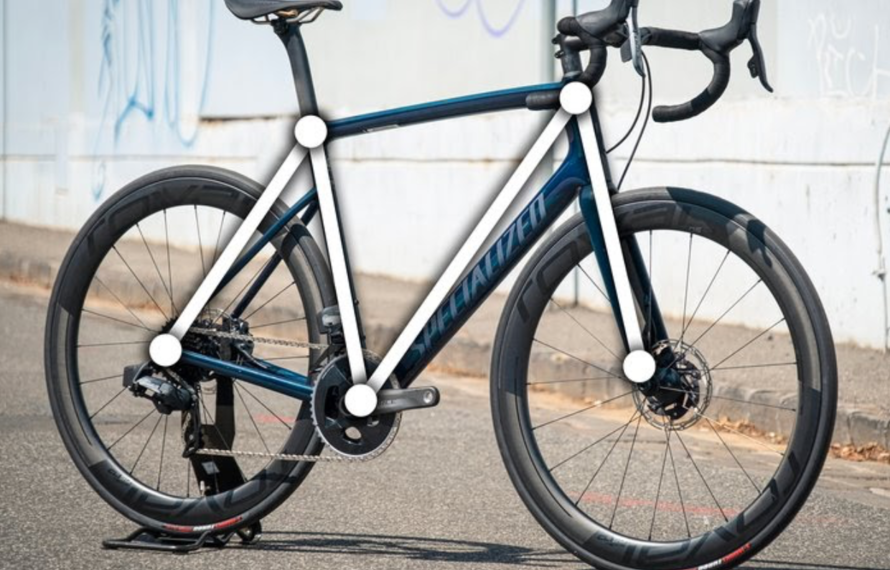
- Cracks or obvious trauma to the frame or wheels (Most commonly on the head tube, fork and seat tube)
- Rust or oxidisation (Look out for orange rust on steel, and white oxidisation on alloy)
- Dirt and grime
- Dry chains
- Frayed or damaged cables (Especially for Hydraulic brake cables)
- Gear shifts that aren’t smooth or don’t shift at all
- Squealing or worn brakes
- Flat or cracked tyres
- Loose bolts
How Often Should Your Bike Be Serviced?
Regardless of how often you ride, you should schedule a service at a bike store at least every six months. A service with a professional mechanic will ensure any issues are identified and fixed before they become serious or expensive.
A good rule of thumb is that the more you ride in the elements, the quicker everything wears out. For daily riders or those using expensive, high-end bikes, you’ll need to have preventative maintenance performed roughly every three months. This is because these higher-quality bikes have a narrower tolerance for maintaining optimal performance.
If you haven’t ridden in a while and are unsure of your bike’s condition, it’s a good idea to check in with a professional and ensure your ride is as safe as possible.
This guide will show you how to properly maintain your bike in between these professional services.
How To Maintain Your Bike: Step By Step Guide
Once you’ve gathered your tools and noted any problems or causes of concern, it’s time to get started.
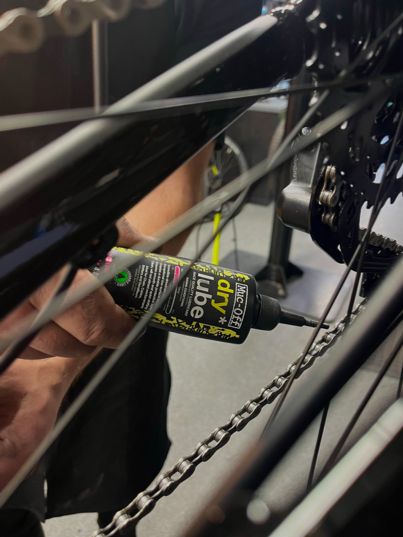
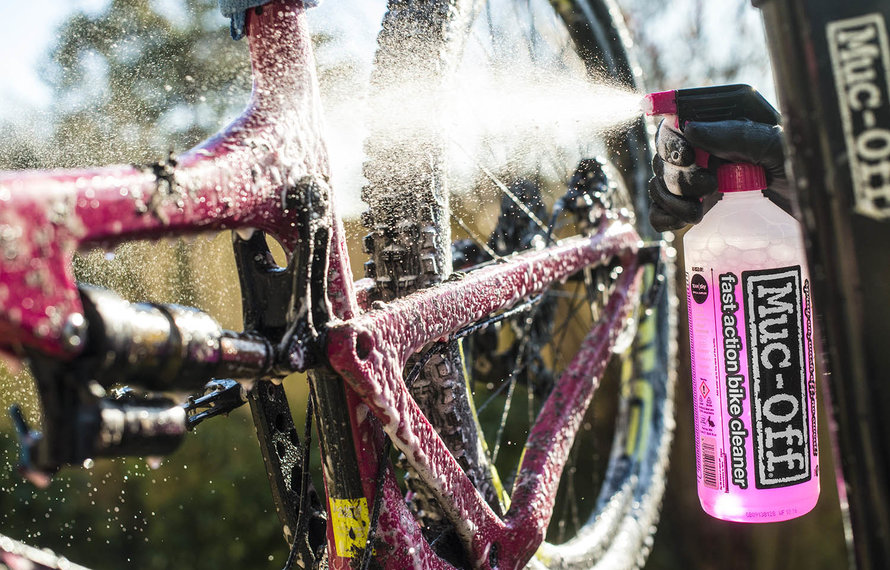
Step 1: Clean & Lubricate Your Bike
First, make sure your bike is clean and lubricated. To do this, follow these 3 simple steps:
Start by gently rinsing the frame with water from a bucket or regular garden hose, then spray with bike wash and scrub with a soft brush.
Spray bicycle degreaser on your drivetrain parts and leave it to sit for about 15 minutes. Then, with a firm bristle brush, scrub your chain, cassette and derailleur jockey wheels. Rinse well and allow your bike to dry completely.
Hot Tip: You can help speed up this process by pedalling backwards with one hand and holding the brush still with the other. This will move the chain for you and make it less tiring to scrub.
Warning! Avoid getting old grease and lube on your disc rotors while cleaning. Cover them with a clean rag when using water and solvents to wash off old contaminants, or when applying lube and silicon-based bike polishes.
Once your bike is clean and dry, you’ll need to lubricate your chain to ensure it runs smoothly. The easiest way to do this is to dribble lube along the inside of the chain while slowly pedalling backwards. Allow the chain lube to settle into the links for about 15 minutes before wiping off any excess with a clean cloth.
It may help to familiarise yourself with our in-depth guide on how to clean your bike, complete with product suggestions.

Step 2: Check Your Wheels
The wheels are one of the most important parts of a bike, because they’re the only thing connecting you and your bike to the ground. When a wheel is “out of true”, it can make your riding inefficient or potentially dangerous. Let’s check out the warning signs.
- Using a bike stand that suspends your bike off the floor, or just flipping the bike upside down, give your front wheel a spin. Signs of a problem include wobbling, hopping, the rim moving side-to-side against the brake pad or hitting the bike frame, and the wheel not moving altogether. If the rim is moving in these ways, your wheel is out of true and can become dangerous. Bring your bike to an expert who can help you get rolling again.
- Next, check for broken spokes. Identify loose spokes by squeezing together two spokes that cross over each other. If they’re soft and move around a lot, they’ll need to be tightened. Loose spokes can damage your rim if left unattended, so get them fixed as soon as possible.
- If your wheels spin freely without any noticeable wobbles or hops, the next step is to check your axles. For Quick Release (QR) wheels, place your bike upright and open the QR level. Allow the weight of the bike frame to fall evenly over the skewer. Close the lever again so that it’s quite firm, adjusting to tighten or loosen as needed.
For thru axles that thread into the frame, you’ll need to tighten them with an Allen key (usually a 5mm or 6mm size). Tighten the thru axles to the bike manufacturer’s recommendation.
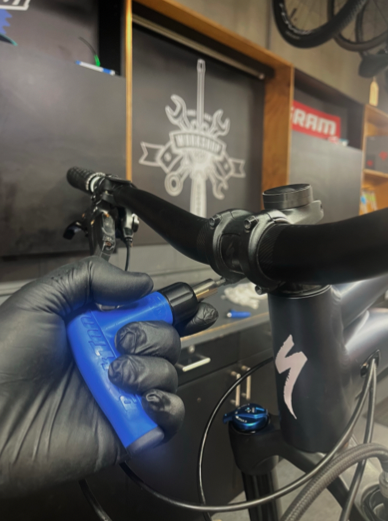
Step 3: Tighten Up The Bolts
The front-end and brake bolts are the most important part of the bike where safety is concerned. Since they hold everything together, your bike’s bolts should always be tight. Ideally, you should check for loose bolts roughly every two weeks, especially if you’re riding regularly.
Tighten all the front-end stem bolts using a torque wrench, then check the state of your bolts using the following test:
Place the front wheel between your legs so you’re facing the rear of the bike and the handlebars are directly in front of you.
Holding the wheel tightly in place with your legs, try to move the handlebars from side to side (or up and down if you have road drop bars).
Lift the front of the bike upwards and drop it back down.
There should be no side-to-side or up-and-down movement in the bars while the wheel is between your legs. Steering movement should be smooth, not notchy. Any noise when conducting the drop test means loose parts. If any noise or abnormal movement is present, do not ride the bike before consulting a mechanic for professional advice.
For 99% of the bolts on your bike, a 4mm, 5mm and 6mm Allen key are all that is required. Start from the front and work your way back, tightening up any bolts that are loose. A torque wrench will help you ensure you don’t over tighten or under tighten and you can check the specific torque required in your bike’s user manual.
Hot Tip: Most handlebars and stem face plates will note the specific key size needed for tightening.
Step 4: Check Your Brakes
A safe bike needs working brakes. Ignoring the warning signs and failing to replace your brake pads when needed could damage your bike and its parts – or worse, put you in danger of hurting yourself and others.
Things to look out for when checking your brakes, include:
Your brake pads need to be replaced if they become unresponsive or make a screeching sound when applied forcefully. If you’re unsure, spin the wheel off the ground and pull the brakes. They should lock immediately without a sound and spin freely again once you release the brake.
You can also check the wear indicators on your brake pads, which are usually marked as lines on the rim brake pads. If your disc brake pad is less than 1mm thick (about the width of 3 business cards), it needs to be replaced.
Another reason your brakes might be squeaking is if they’re contaminated. Try using a Disc Brake Cleaner to help with this, and follow these 3 simple steps:
First take the wheel out of the bike and remove the pads from the caliper. Spray disc brake cleaner up into the caliper and use a white cloth to clean the inside (where the pads and rotor would be). Continue doing this until the rag no longer picks up dirt or contaminants. Rinse the area with water. Do the same to the rotor.
Once the caliper and rotor are clean, get some 180-grit sandpaper and lightly sand both sides of the rotor’s face in a circular motion. Clean with brake cleaner once again and finish by rinsing with water. Finally, lay a clean piece of sandpaper face-up on a flat surface and hold your rotor face-down on top of it. Use circular motions to sand the surface again. Turn it back over and give it a tap to remove any remaining dust.
A clean rotor will be porous and light in colour. A contaminated rotor will be darker and, in some cases, hard and shiny. This is because of dirt, heat and oil from the road. Re-install your clean brakes and check for further squeaking. If the problem persists, visit your mechanic.
Step 5: Check Your Tyres
No matter what type of bike you have or where you ride it, tyre pressure is one of the most important things to pay attention to. Be sure to properly inflate them on a consistent basis – every 3-5 days to be safe. The best tool for the job is a pump with a tyre pressure gauge.
Every tyre has its own recommended pressure rating, which can be found on the side wall. Never exceed max pressure and adjust it down by 10psi when riding on wet roads to give yourself better grip. The side wall is also where you’ll find the size of the tyre if you ever require a new tube. Look for something that looks like this: 700x32 - 32-622 as well as the rough length of the valve.
If you have a pressure gauge, place it on the valve and press down. The needle on the gauge will move and display the pressure. If your tyres aren’t in the correct psi range as displayed on the side wall, use your bike pump to give them some air.
Hot Tip: It’s smart to own two pumps – a handheld pump for emergency use when you’re out on the bike and a floor pump with a built-in pressure gauge to keep at home. Handheld (or non-Co2) pumps can produce enough pressure to get you home, but only a gauge will ensure your tyres are safely inflated.
If you have a mountain bike, sit on the seat and look down. If you see the tires protruding out on each side by more than a millimetre or so, your tyres need air. On the other hand, if they feel rock hard and offer no give, you’ll need to let some air out. Most MTB tyres run between 25-35 psi, but this can depend on how heavy and aggressive you are. Lower pressure on a mountain bike gives you optimal grip and stops you from bouncing and losing traction while on the trail.
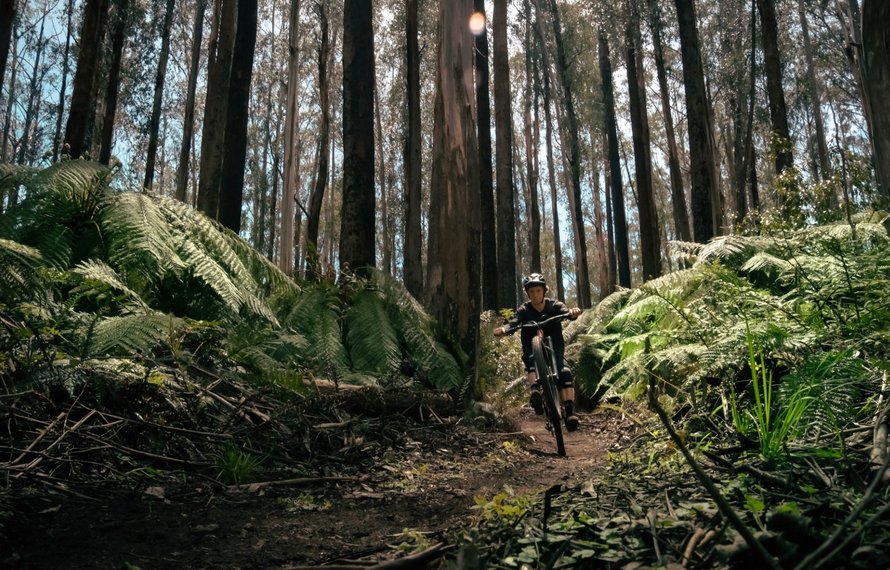
Step 6: Test Ride your Bike
Once you’ve cleaned and lubricated your bike, made sure your brakes function and inspected your tyres, you’ll want to take your bike for a test ride. This is best done in a quiet street.
On your test ride, make sure your gears are changing smoothly and quietly. Any rubbing or clicking noises indicate an issue with derailleur alignment or gear tuning. You can also check your brakes, ensuring they operate quietly and effectively.
Hot Tip: While testing the brakes, put your weight over the back seat when applying pressure so you don’t go over the handlebars.
At the end of the day, if your bike is clean and you don’t notice any serious warning signs, you should be all set for an easy and safe ride. But even if something isn’t right, you now have the skills and instructions necessary to tackle it yourself. All your trusty bike needs is a little TLC in the form of regular maintenance and servicing, and it’ll go a long way (literally!).
If you’re looking for any additional advice or are still feeling slightly unsure about servicing your bike yourself then message us by hitting the icon at the bottom left of your screen, we're here to help!